Physical Address
304 North Cardinal St.
Dorchester Center, MA 02124
Physical Address
304 North Cardinal St.
Dorchester Center, MA 02124
Kitchen Knives: Learn the best techniques to sharpen your kitchen knives effectively and maintain their edge for professional-level cutting performance.
How To Sharpen Kitchen Knives
Hey there, fellow kitchen enthusiasts! I’ve been obsessed with kitchen knives for years and learned a ton along the way. There’s something magical about slicing through ingredients with precision, and that magic starts with a sharp knife. But let’s face it, keeping your knives sharp can be a bit of a mystery. Today, I’m going to walk you through how to sharpen your kitchen knives like a pro, sharing my personal experiences and tips that have made my kitchen adventures so much smoother.
First off, why bother with sharpening? I’ve found that a sharp knife isn’t just about efficiency; it’s about safety. Dull knives require more force, increasing the risk of slipping and cutting yourself. When I first started cooking, I didn’t realize this, and let me tell you, I’ve had my share of close calls. A sharp knife glides through food, reducing the chance of accidents. Plus, the quality of your cut affects the cooking process—think even slices for uniform cooking or precise dicing for presentation.
Before we dive into sharpening, let’s talk about the different types of kitchen knives. I’ve used everything from a chef’s knife for chopping to a paring knife for peeling. Each type has its purpose, and understanding this helps in choosing the right sharpening method. For instance, a chef’s knife is versatile, used for chopping, slicing, and dicing, while a Santoku knife, with its unique blade, is excellent for slicing. I’ve also invested in a cleaver, which is fantastic for heavy-duty tasks like cutting through bones. Knowing your tools is the first step in mastering them.
Now, let’s get into the tools. I’ve tried various methods, from simple honing rods to professional sharpening stones. Here’s what you’ll need:
Let’s get to the fun part—sharpening! Here’s how I do it:
1. Preparation: Clean your knife. I always make sure my knives are free from food particles because any residue can affect the sharpening process.
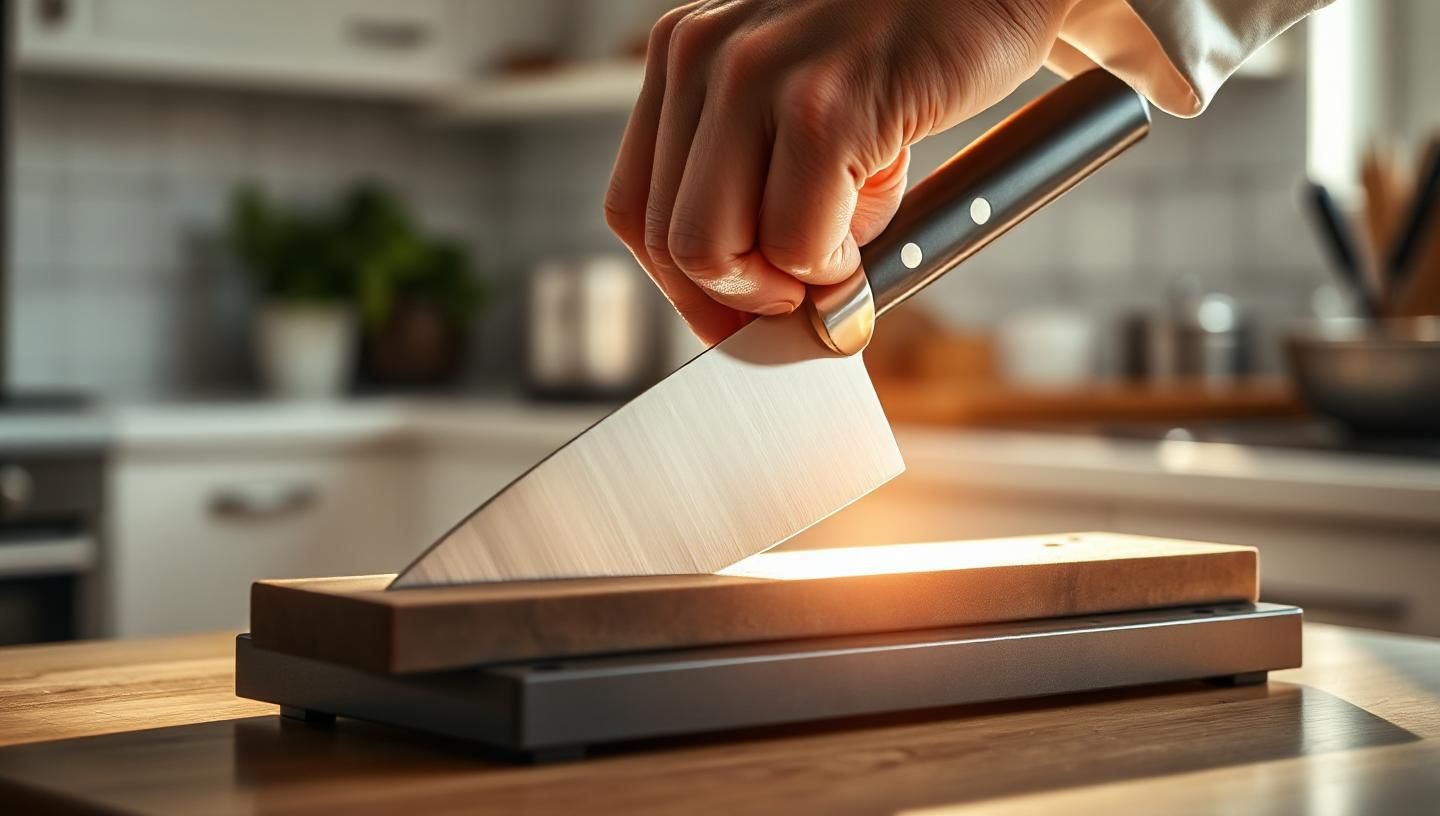
2. Angle: The angle is crucial. For most Western-style knives, I use a 20-degree angle per side. Japanese knives, like my Gyuto, often require a 15-degree angle. I’ve practiced this with a guide until I could feel the right angle.
3. Using a Sharpening Stone: Soak your stone if it’s water-based. I place the stone on a non-slip surface, then with the knife at the chosen angle, I draw it across the stone from base to tip in a sweeping motion. I do this about 10 times on each side, checking the edge frequently.
4. Honing: After sharpening, I use my honing rod. Holding the knife at the same angle, I glide it down the rod from heel to tip, alternating sides. This realigns the edge.
5. Stropping: For that extra sharpness, I finish with stropping. I’ve made my own strop with a piece of leather and some polishing compound. I draw the knife backward across the strop, again maintaining the angle.
6. Testing: I test the sharpness by slicing through a piece of paper. If it cuts smoothly, I know I’ve done a good job.
I’ve made my share of mistakes, so here’s what to avoid:
After all that work, you want to keep your knives in top shape. Here’s how I care for mine:
Sharpening kitchen knives is an art and a skill that I’ve honed over years of cooking. It’s not just about having a sharp tool; it’s about respecting your equipment and ensuring safety in the kitchen. I’ve shared what works for me—hope it helps you too. Remember, every slice, chop, and dice becomes a joy when your knives are in perfect condition. Keep practicing, and soon, you’ll be slicing through your culinary challenges with ease. Happy sharpening!