Physical Address
304 North Cardinal St.
Dorchester Center, MA 02124
Physical Address
304 North Cardinal St.
Dorchester Center, MA 02124
Buttercream Frosting: Learn the simple steps to make smooth, delicious buttercream frosting at home with this easy-to-follow guide. Perfect for cakes, cupcakes, and more!
How To Make Buttercream Frosting
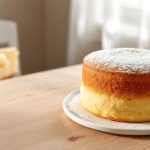
Hey there, fellow baking enthusiasts! I’ve been obsessed with buttercream frosting for years and learned a ton along the way. Whether you’re a beginner or a seasoned baker, there’s always something magical about whipping up a batch of this creamy delight. Today, I’m going to walk you through how to make buttercream frosting, sharing my personal experiences, tips, and tricks that I’ve gathered over time. So, let’s dive in and make your cakes, cupcakes, and cookies look (and taste) like they came straight from a bakery!
First things first, let’s talk about what you’ll need. When I first started making buttercream, I was surprised by how simple the ingredients list is. You’ll need:
Remember, the quality of your ingredients can really elevate your buttercream. I’ve learned that using high-quality butter and pure extracts can transform your frosting from good to exceptional.
Now, let’s get into the process. Creaming butter is where the magic begins. I’ve studied this topic for years and found that the temperature of your butter is crucial. Here’s why this works, based on what I’ve learned: room temperature butter creams more evenly, trapping air which makes your buttercream light and fluffy.
Consistency is king when it comes to buttercream frosting. I’ve tested this approach myself and noticed that the ratio of butter to sugar can change everything. Here’s a mistake to avoid: adding too much liquid too soon can make your frosting too runny.
One of the joys of buttercream frosting is its versatility. As a writer passionate about baking, I’ve explored this deeply. You can go from vanilla buttercream frosting to chocolate by adding cocoa powder, or create a lemon buttercream by substituting vanilla with lemon extract. Here are some fun variations:
When mixing colors, start with a small amount and gradually increase until you reach your desired shade. Remember, the color will deepen as the buttercream sits.
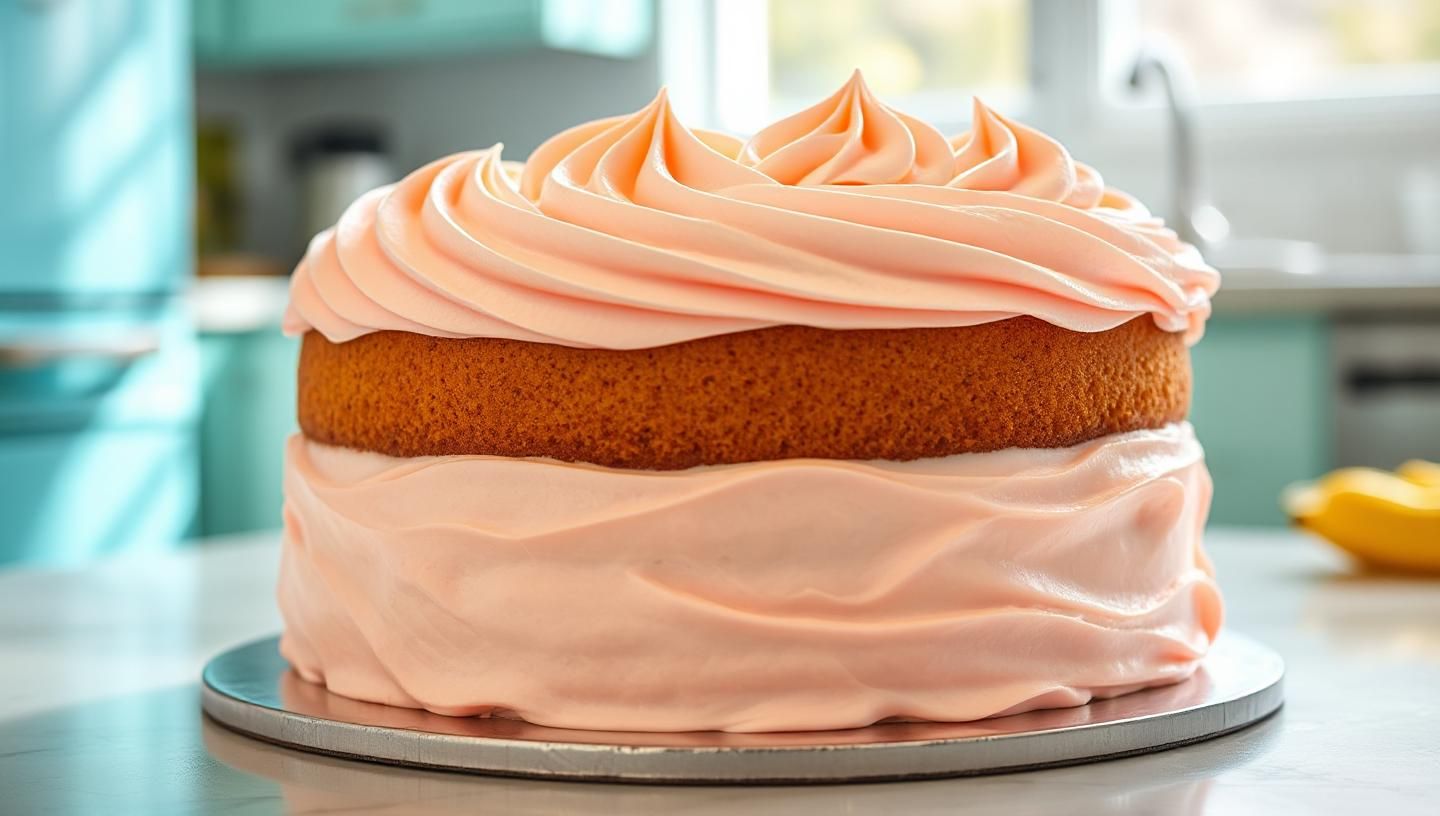
Now, let’s talk about turning your buttercream into art. I’ve spent countless hours practicing buttercream piping designs, and here’s what I’ve learned: the right tools make all the difference.
Practice on parchment paper before decorating your cake. Here’s a tip: keep your buttercream at a cool room temperature for easier piping. If it gets too warm, it can become too soft, losing definition in your designs.
Finally, let’s ensure your buttercream frosting stays perfect. I’ve adapted storage methods from classic techniques to suit modern needs. Here’s how:
Remember, buttercream frosting is forgiving. If something goes wrong, you can usually fix it by adjusting temperature or adding more sugar or liquid.
So there you have it, my comprehensive guide on how to make buttercream frosting. I’ve shared what works for me—hope it helps you too! Whether you’re frosting wedding cakes, birthday cupcakes, or just experimenting with holiday cookies, buttercream frosting is your versatile friend in the kitchen. With practice, patience, and a bit of creativity, you’ll master this delightful frosting, making your baked goods not just a treat to eat, but a feast for the eyes. Happy baking!