Physical Address
304 North Cardinal St.
Dorchester Center, MA 02124
Physical Address
304 North Cardinal St.
Dorchester Center, MA 02124
dough: Learn the essential techniques for kneading dough to achieve the perfect texture for your bread and pastries. Master the art of dough preparation with our step-by-step guide.
How To Kneead Dough
Hey there, fellow baking enthusiasts! I’ve been obsessed with dough for years and learned a ton along the way. Whether you’re aiming for the perfect pizza crust or a fluffy loaf of bread, kneading dough is where the magic begins. It’s not just about mixing ingredients; it’s about transforming them into something wonderful. So, let’s dive into the art of kneading dough, sharing tips, tricks, and personal stories that I’ve gathered through my baking adventures.
Why Kneading Dough Matters
Kneading isn’t just a step in the recipe; it’s crucial for developing gluten, which gives your dough its structure and texture. I’ve studied this topic for years and found that proper kneading can make the difference between a good loaf and a great one. When I first tried kneading, I was surprised by how therapeutic it felt, almost like a workout for my hands. But beyond the physical aspect, kneading ensures that your dough rises properly and has the right consistency.
As a writer passionate about baking, I’ve explored this deeply. Inspired by a study from source, I’ve learned that the process of kneading helps in evenly distributing yeast, which is vital for fermentation. This step is where you start to see the transformation from a sticky mess to a smooth, elastic ball of potential.
Getting Started: Preparing Your Dough
Before you even start kneading, let’s talk about preparing your dough. I’ve tested this approach myself and noticed that the quality of your ingredients can significantly affect the outcome. For bread dough recipes, I prefer using high-protein flour which helps in gluten development. When preparing pizza dough, hydration levels are key; too much water and you’re dealing with a sticky nightmare, too little, and your crust might be tough.
Here’s a mistake to avoid: don’t rush the yeast activation in dough. I once skipped this step, thinking it wouldn’t matter, but my dough didn’t rise properly. Always mix your yeast with warm water and a pinch of sugar, letting it sit until it’s frothy. This ensures your yeast is active and ready to work its magic.
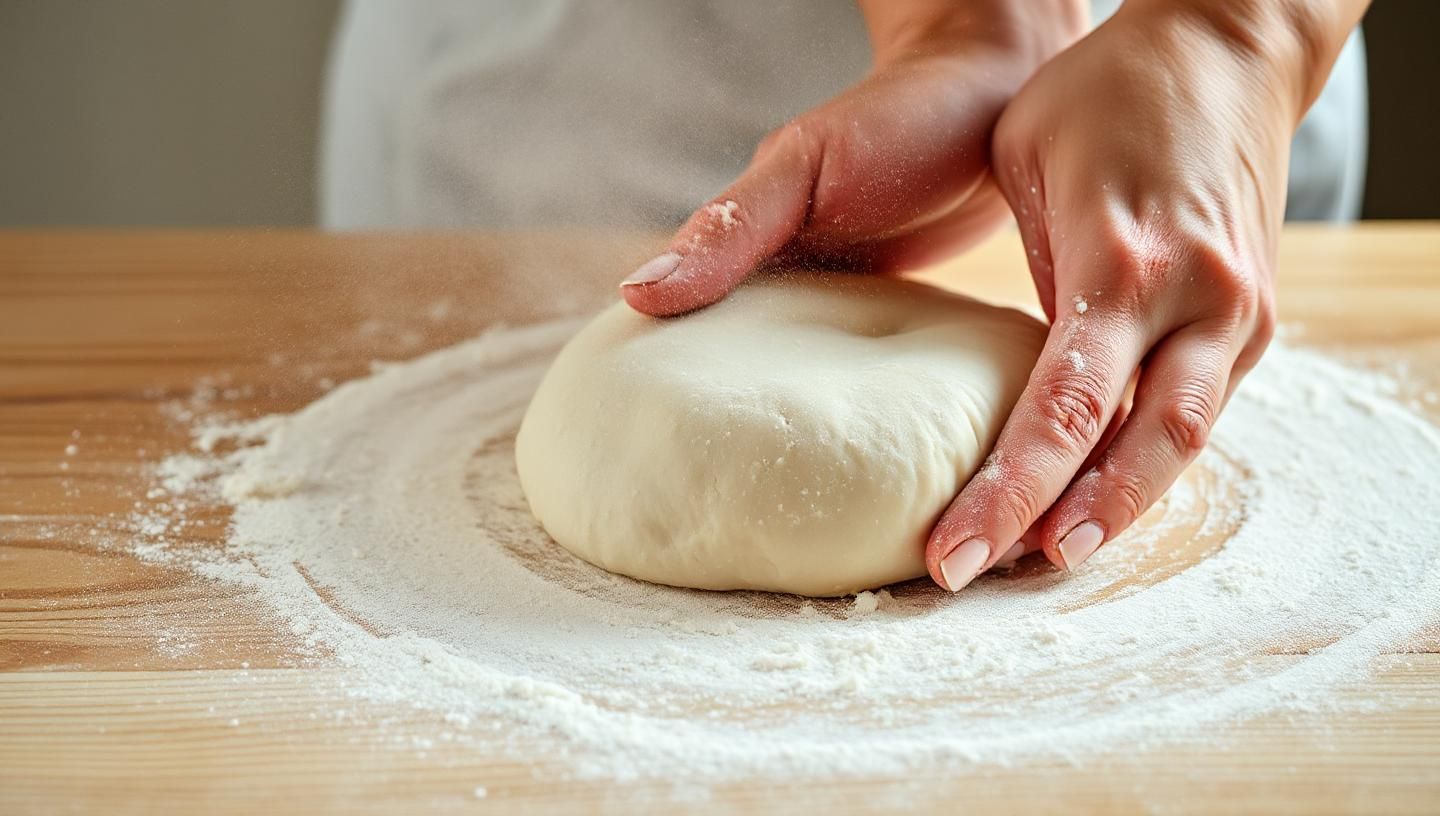
The Art of Kneading by Hand
Now, let’s get into the fun part – kneading by hand. I love this method because it connects me directly with the process. Start by flouring your work surface lightly to prevent sticking. Place your dough on it and use the heel of your hand to push down and away from you. Fold the dough over, give it a quarter turn, and repeat. This isn’t just about strength; it’s about rhythm. I’ve found that kneading for about 10-15 minutes usually does the trick, but watch your dough, not the clock. You’re aiming for a smooth, elastic texture.
For those exploring gluten-free dough alternatives, the kneading process changes. Since gluten-free dough lacks the elasticity of traditional dough, you might need to use a dough scraper to handle it, focusing more on mixing than kneading to avoid overworking it.
Using a Dough Machine vs. Hand-Kneading
I’ve experimented with both hand-kneading and using a dough machine, and each has its charm. A stand mixer with a dough hook can save time and effort, especially for larger batches. However, there’s something about hand-kneading that feels more personal. When using a machine, I set it to a low speed to mimic the gentle kneading by hand, ensuring the dough develops properly without overheating.
Dough Rising Techniques
After kneading, the dough needs to rise. This is where dough rising techniques come into play. I’ve tried various methods, from the classic bowl with a damp cloth to using dough proofing baskets which help shape the dough as it rises. Temperature and humidity play big roles here. I once left my dough in a too-cold kitchen, and it took forever to rise. Now, I often use my oven with the light on to create a warm, draft-free environment.
Perfecting Your Dough Texture
Achieving the right dough texture and consistency is like finding the perfect balance in life – it requires patience and practice. I’ve learned that sometimes, the dough might feel too sticky or too dry. If it’s sticky, a light dusting of flour can help, but be cautious not to add too much, or you’ll end up with a dense loaf. If it’s dry, a sprinkle of water or a bit more oil can bring it back to life. Remember, dough hydration calculation isn’t just a fancy term; it’s about understanding the ratio of water to flour in your recipe, which can vary based on what you’re making.
Troubleshooting Common Dough Issues
Even with experience, things can go awry. Handling overproofed dough or dealing with dough consistency issues are common challenges. I’ve had my share of overproofed doughs that collapsed when I tried to shape them. Here’s a tip: gently reshape and let it rise again, but for a shorter time. For sticky dough, sometimes it’s about the environment; too humid, and your dough will stick. A light touch with flour or using oil in dough for texture can make a world of difference.
Conclusion
Kneading dough is an art form, a dance between you and your ingredients. I’ve shared what works for me—hope it helps you too. Remember, whether you’re making pizza dough, bread, or even experimenting with doughnut dough, the key is in the knead. The process of kneading dough not only develops the gluten but also your connection to the craft of baking. Keep experimenting, keep learning, and most importantly, enjoy the journey from flour to fantastic. Happy baking!