Physical Address
304 North Cardinal St.
Dorchester Center, MA 02124
Physical Address
304 North Cardinal St.
Dorchester Center, MA 02124
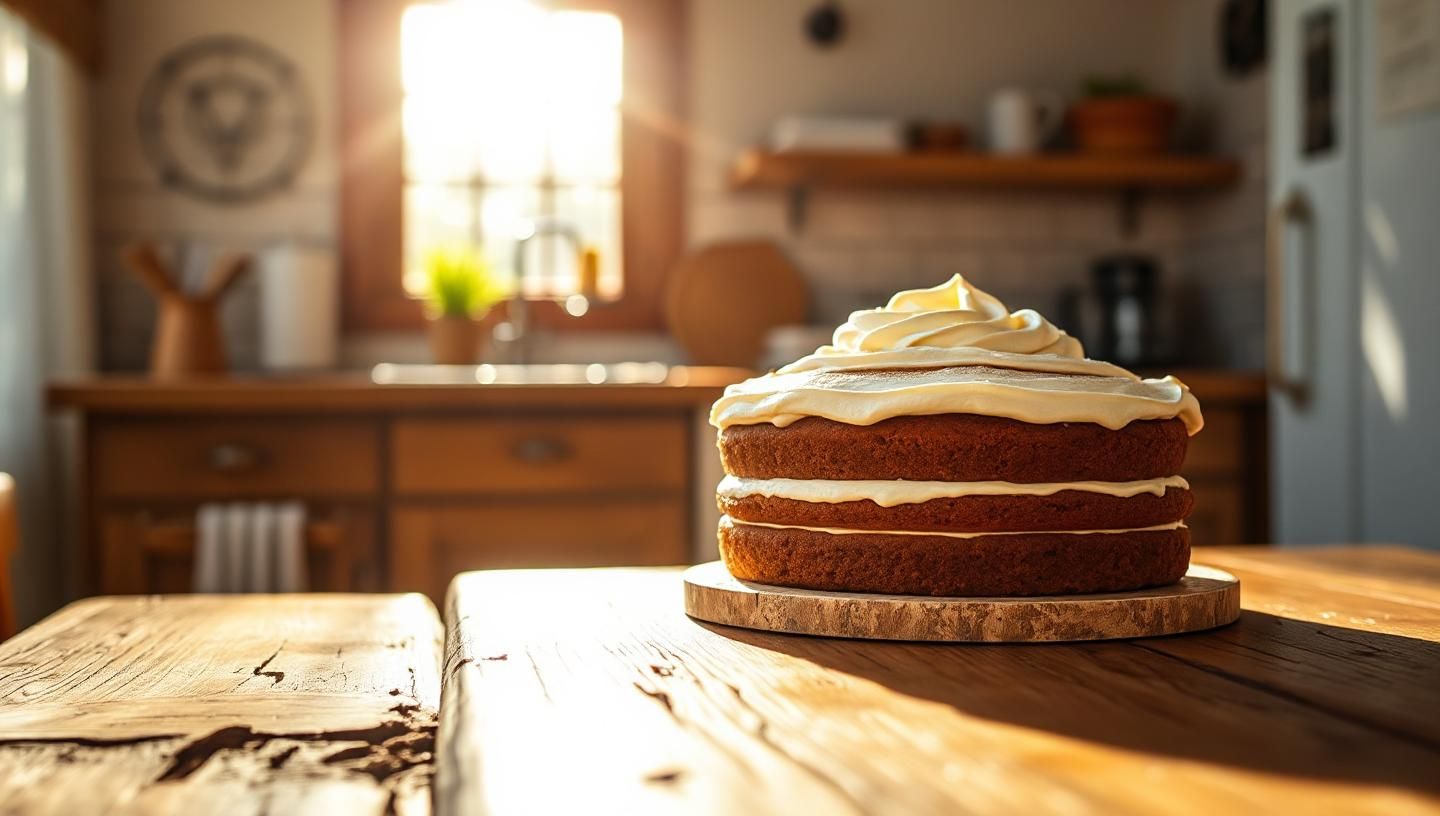
baking Discover the art of cake baking with our comprehensive guide. Learn essential techniques, tips, and recipes to bake delicious cakes at home. Perfect for beginners and seasoned bakers alike.
I’ve been obsessed with baking for as long as I can remember. From my first lopsided chocolate cake as a kid to the towering masterpieces I whip up today, baking has always been my happy place. There’s something magical about turning simple ingredients into something deliciously beautiful. If you’re just starting your baking journey or looking to level up your cake game, you’re in the right place. I’ve learned a ton about baking through trial, error, and plenty of tasty experiments. Today, I’m going to share my tried-and-true tips on how to bake cakes that impress every time.
Whether you’re a beginner baker or someone who’s been baking cakes for years, there’s always something new to learn. We’ll dive deep into baking basics, explore beginner baking tips, and even touch on cake decorating ideas to make your cakes look as good as they taste. Ready to get your apron on and have some fun? Let’s dive in!
Before we jump into the kitchen, let’s talk about some baking basics. Baking is part art, part science, and knowing the fundamentals can make all the difference. Trust me—I’ve baked enough flat, dense cakes in my early days to understand how crucial the basics are.
First things first: ingredients matter. Quality ingredients like fresh eggs, good butter, and high-quality flour can elevate your cake from good to amazing. Speaking of flour, did you know there are different types? All-purpose flour is great for most cakes, but if you’re into gluten-free baking recipes or baking with almond flour, coconut flour, or oat flour, you’ll need to adjust your recipes accordingly. I’ve experimented with gluten-free baking myself, and it’s totally doable with a few tweaks.
Another key basic is measuring accurately. Baking is precise, and eyeballing ingredients can lead to disappointing results. Always use measuring cups and spoons or, even better, a kitchen scale. I switched to weighing ingredients a few years ago, and my cakes improved dramatically.
Lastly, let’s talk about baking temperature guide basics. Preheating your oven is non-negotiable. Cakes need consistent heat from the start to rise properly. Invest in an oven thermometer to double-check your oven’s accuracy. Trust me, it’s worth it!
You don’t need fancy equipment to start baking cakes, but having the right tools can make the process smoother and more enjoyable. Over the years, I’ve built up a collection of baking tools that I swear by.
First, pans. Metal pans are my go-to because they heat evenly and help cakes bake consistently. Glass pans and ceramic pans can work too, but they heat differently, so keep an eye on baking times. I also love baking with parchment paper—it’s a lifesaver for easy cake removal and cleanup.
Next, mixers. A good hand mixer or stand mixer makes creaming butter and sugar a breeze. If you don’t have one yet, don’t worry—a whisk and some elbow grease will do the trick, but mixers save time and effort, especially when baking larger cakes.
Silicone baking mats and silicone molds are fantastic for cupcakes and mini cakes. They’re reusable, non-stick, and easy to clean. I’ve baked countless cupcakes using silicone molds, and they always come out perfect.
Lastly, invest in a good set of measuring tools and spatulas. Baking is all about precision, and these small tools make a huge difference.
Now, let’s get baking! Here’s my foolproof step-by-step guide to baking a delicious cake every time.
Before you start mixing, gather all your ingredients and tools. This is called mise en place—a fancy French term for getting everything in place. It saves you from scrambling mid-recipe. I learned this the hard way when I realized halfway through mixing that I was out of eggs!
Preheat your oven according to your recipe, usually around 350°F (175°C). Grease your pans with butter or non-stick spray, then line the bottoms with parchment paper. This ensures your cakes come out easily.
Cream butter and sugar until fluffy, then add eggs one at a time. Next, alternate adding dry ingredients (like flour, baking powder, or baking soda) and wet ingredients (milk, yogurt, or alternative milks). Avoid overmixing—this can make your cake dense.
Speaking of baking soda vs baking powder, remember they’re not interchangeable. Baking soda needs an acid (like buttermilk or yogurt) to activate, while baking powder already contains acid. I’ve made this mistake before, and it resulted in a flat cake—lesson learned!
Pour your batter evenly into prepared pans and smooth the tops. Bake in the preheated oven until a toothpick inserted in the center comes out clean. Resist the urge to open the oven door too soon—this can cause your cake to sink. Patience is key in baking!
Let your cakes cool in the pans for about 10 minutes, then carefully turn them onto a cooling rack. Let them cool completely before frosting or decorating. Warm cakes can melt frosting—another baking lesson I learned the hard way.
Baking cakes is fun, but decorating them is where you can really let your creativity shine. From simple buttercream swirls to intricate fondant designs, there’s something for every skill level.
If you’re new to decorating, start with basic cupcake decorating techniques or learn how to frost a cake smoothly. Buttercream is forgiving and easy to work with. For special occasions, try baking with chocolate ganache or cream cheese frosting—both are crowd-pleasers.
Feeling adventurous? Experiment with baking with fruit fillings, caramel sauce, or even baking with meringue. I recently tried baking with pastry cream and fresh berries—it was a huge hit at my friend’s birthday party!
Even experienced bakers run into issues sometimes. Here are a few common baking mistakes I’ve encountered and how to fix them:
I’ve had many friends with dietary restrictions, so I’ve explored vegan baking substitutions and gluten-free baking recipes extensively. Baking without eggs or dairy might seem tricky at first, but ingredients like flax eggs, applesauce, almond milk, or coconut oil work wonders.
Gluten-free cakes often use alternative flours like almond flour, coconut flour, or chickpea flour. These flours behave differently, so follow recipes designed specifically for gluten-free baking. I’ve baked gluten-free chocolate chip cookie recipes and cakes that even gluten-loving friends adored!
Baking cakes is one of life’s sweetest pleasures, and I hope my tips have inspired you to get in the kitchen and start baking. Whether you’re mastering the basics, experimenting with new techniques, or diving into special diet baking, remember that baking is all about enjoying the process.
I’ve shared what works for me, from my personal baking experiences to expert tips I’ve picked up along the way. Now it’s your turn—grab your apron, preheat your oven, and start baking. Who knows? You might just discover your new favorite hobby. Happy baking, my friend!