Physical Address
304 North Cardinal St.
Dorchester Center, MA 02124
Physical Address
304 North Cardinal St.
Dorchester Center, MA 02124
Frying chicken made easy! Discover essential tips and techniques for perfectly crispy, juicy fried chicken every time with our comprehensive cooking guide.
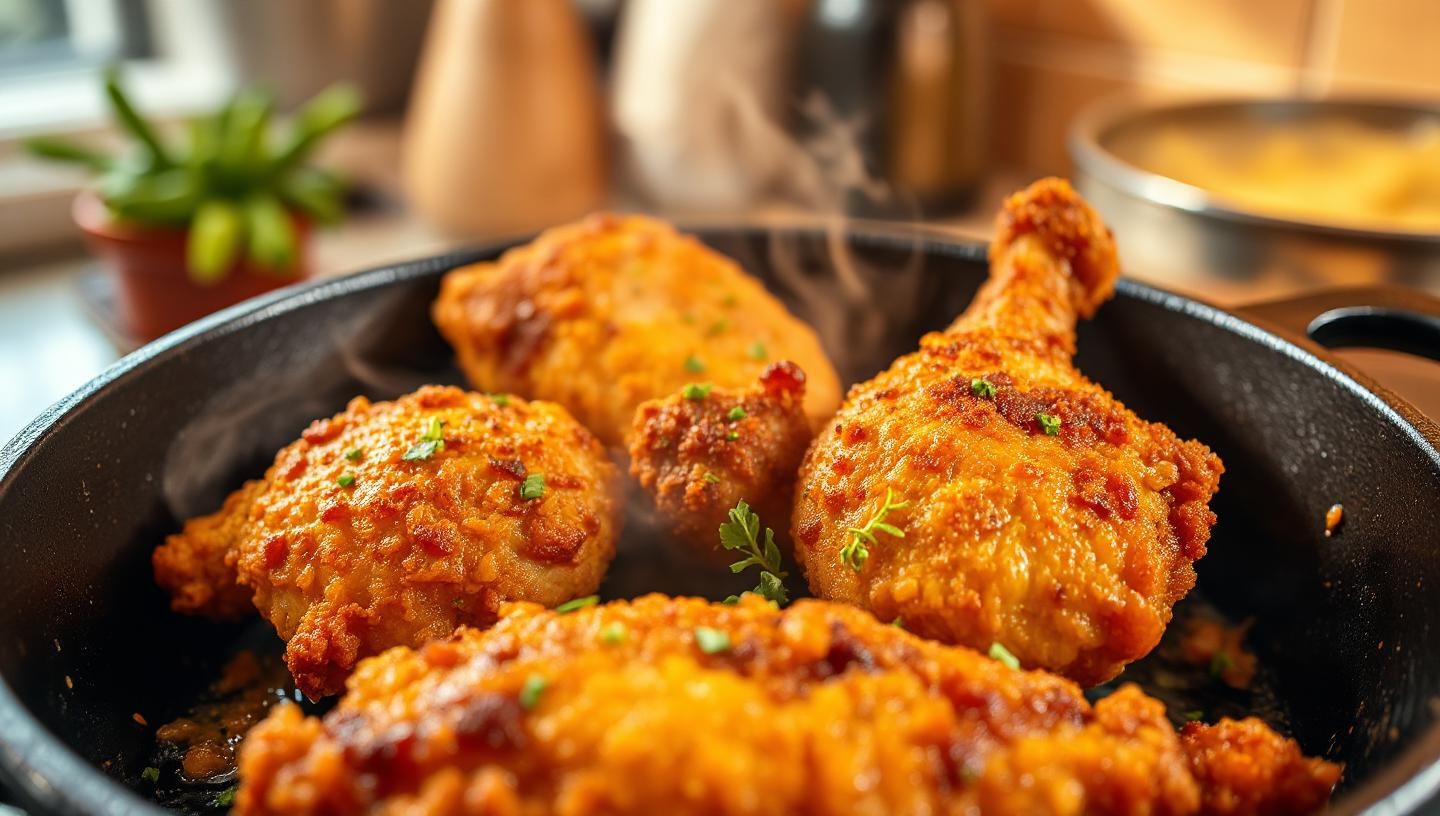
Frying Chicken: A Cooking Guide
Have you ever bitten into a perfectly fried chicken leg and thought, “How do they get it so crispy and flavorful?” Trust me, I’ve been there. I’ve spent years obsessing over frying chicken, experimenting in my kitchen, and learning from both triumphs and crispy-coated failures. Whether it’s deep frying, pan frying, or even air frying, I’ve tried it all. And let me tell you, frying chicken isn’t just cooking—it’s an art form.
In this guide, I’m going to share everything I’ve learned about frying chicken. We’ll cover frying techniques, equipment, best oils, safety precautions, and even some healthier alternatives. By the end, you’ll have the confidence to fry chicken at home like a pro. Ready to dive in? Let’s get frying!
Understanding the Basics of Frying Chicken
Before we get into the nitty-gritty, let’s talk basics. Frying chicken involves cooking it quickly in hot oil, resulting in a crispy exterior and juicy interior. But did you know there are several ways to achieve this?
When I first started frying chicken, I underestimated the importance of oil temperature. Too hot, and your chicken burns outside while staying raw inside. Too cool, and you’ll end up with soggy, oily chicken. Aim for 350°F (175°C) for optimal results—investing in a good thermometer changed my frying game completely.
Choosing the Best Oils for Frying Chicken
Not all oils are created equal when it comes to frying. You need oils with high smoke points—meaning they can handle high temperatures without burning or smoking.
Here are my top picks:
One mistake to avoid: frying with olive oil. While frying with olive oil sounds healthy, its lower smoke point makes it unsuitable for high-temperature frying, leading to burnt flavors and potential health concerns.
Essential Frying Equipment and Tools
Great fried chicken doesn’t require fancy equipment, but having the right tools makes a big difference. Here’s what I recommend:
Mastering the Frying Process Step-by-Step
Alright, let’s get practical. Here’s my foolproof step-by-step guide for frying chicken at home:
Step 1: Prep Your Chicken
Always start with room-temperature chicken. If frozen, learn how to defrost for frying safely—never fry frozen chicken directly, as it can cause dangerous oil splatters. Season your chicken generously. I love spice rubs and marinades to infuse deep flavor. Brining overnight in buttermilk creates tender, flavorful meat.
Step 2: Choose Your Coating
Crispy fried chicken secrets often lie in the coating. Traditional flour-based breading works wonders, but I’ve experimented with frying without flour for gluten-free options. Cornstarch or rice flour can deliver extra crispiness. For maximum crunch, try double frying techniques—fry once at lower heat, rest, then fry again hotter.
Step 3: Heat Your Oil
Heat your chosen oil to around 350°F (175°C). Use your thermometer to monitor carefully. Remember, frying and temperature control go hand-in-hand—too hot or too cold spells disaster.
Step 4: Frying Your Chicken
Gently lower chicken pieces into the hot oil, avoiding overcrowding. Fry in batches if needed. Overcrowding drops oil temperature and leads to uneven cooking. Fry until golden brown, typically 12–15 minutes for bone-in pieces. Internal temperature should reach 165°F (74°C).
Step 5: Drain and Rest
Remove chicken with your slotted spoon and place on a cooling rack. Letting chicken rest for a few minutes enhances crispiness and lets juices redistribute. Avoid paper towels—remember, steam equals soggy chicken!
Exploring Healthier Frying Alternatives
Let’s face it—fried chicken isn’t exactly health food. But there are ways to enjoy crispy chicken without guilt:
I’ve tested these methods myself, and honestly, they’re game-changers for healthier eating without sacrificing taste.
Frying Safety Precautions and Oil Disposal
Safety first, always. Frying involves hot oil, which can be dangerous if mishandled. Here are my top frying safety precautions:
Proper frying and oil disposal is crucial. Never pour used oil down drains. Cool completely, strain through a fine mesh for reuse, or store in sealed containers for disposal at designated recycling centers.
Conclusion: Frying Chicken at Home—You’ve Got This!
Frying chicken at home doesn’t have to be intimidating. I’ve shared what works for me, from choosing the right oils and equipment to mastering frying techniques and exploring healthier alternatives. Whether you’re a beginner or seasoned home cook, frying chicken can become your culinary superpower.
Remember, frying chicken is all about practice, patience, and passion. So, grab your apron, heat that oil, and start frying your way to crispy perfection. With these tips, you’ll soon be confidently frying chicken that’s juicy, crunchy, and absolutely irresistible.
Happy frying!